Back
Contents
1. Stock Summary
1.1 Screen Overview
1.2 Product Pictures and Information Overview
2. Adding Pictures and Documents for a Product
2.1 Adding a Picture
2.2 Changing the Picture Order
2.3 Adding a Product Info Document
1. Stock Summary
1.1 Screen Overview
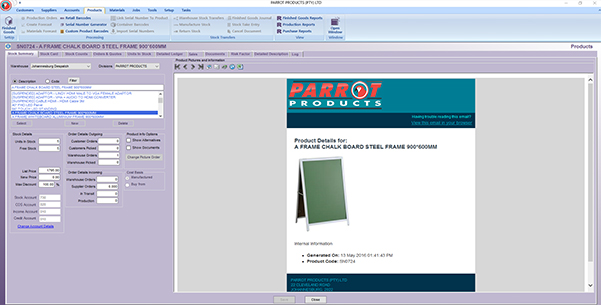
The Finished Goods Stock Summary screen has been changed and reworked. Several new options have been added and controls have been moved around on the page.
Definitions
1. Suspended checkbox
The suspended check box has the following effect
Stock can only be ordered up to the quantity in stock for that particular warehouse
On the left hand side of the screen, all of the product details are now displayed as well as a new groupbox showing Product Info Options.
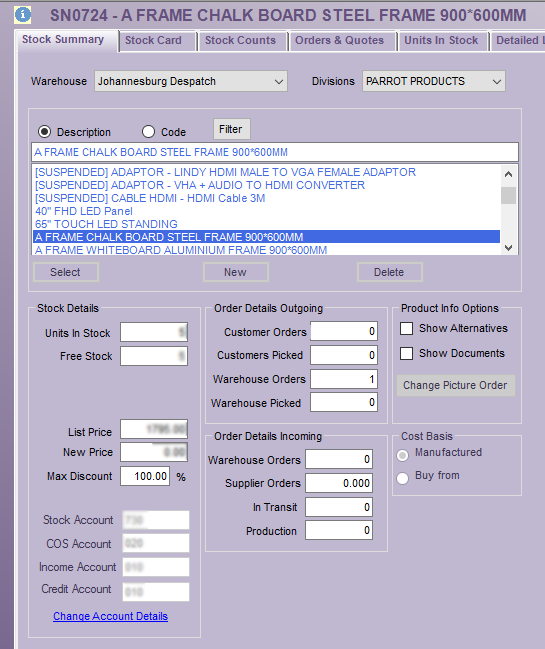
The Product Info Options are used to control the details that are displayed in the Product Pictures and Information, which takes up the right side of the form. You can control whether Alternative Products are displayed, if links to Product Documents are displayed and change the order of the product’s pictures (if it has more than one).
1.2 Product Pictures and Information Overview
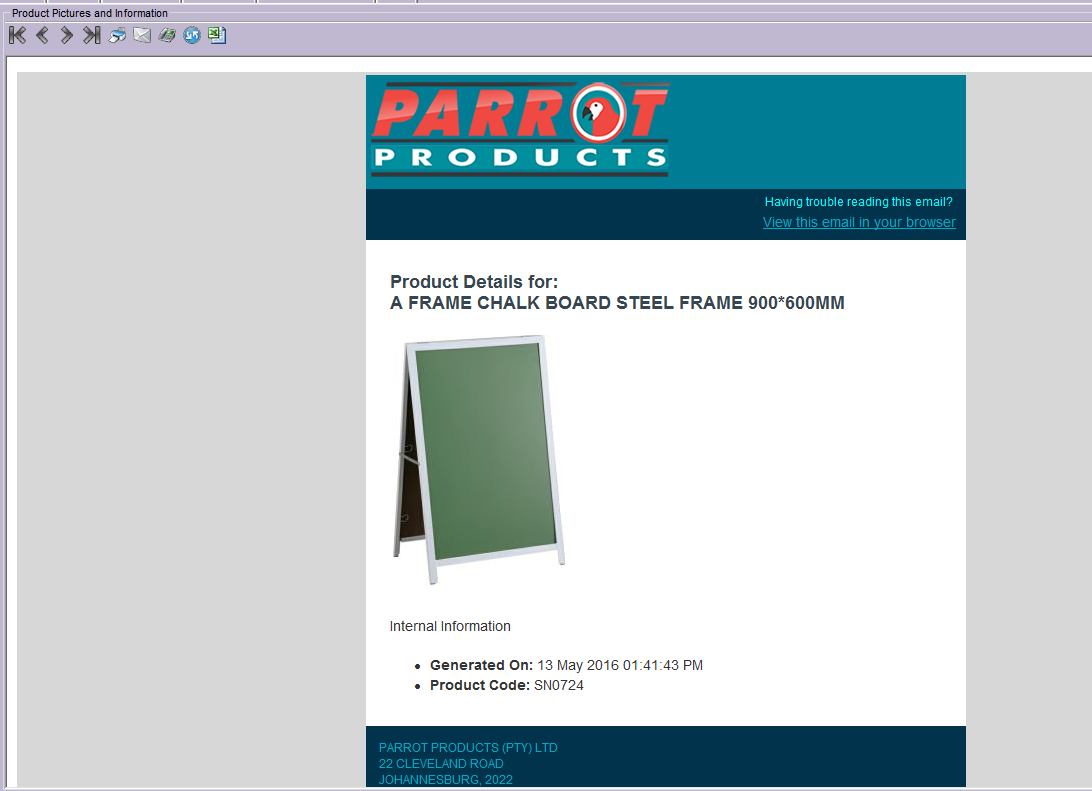
The most notable change is that the Scanner Control has been removed and replaced with a form which displays, in HTML, information about the selected product as well as all related product pictures for that product.
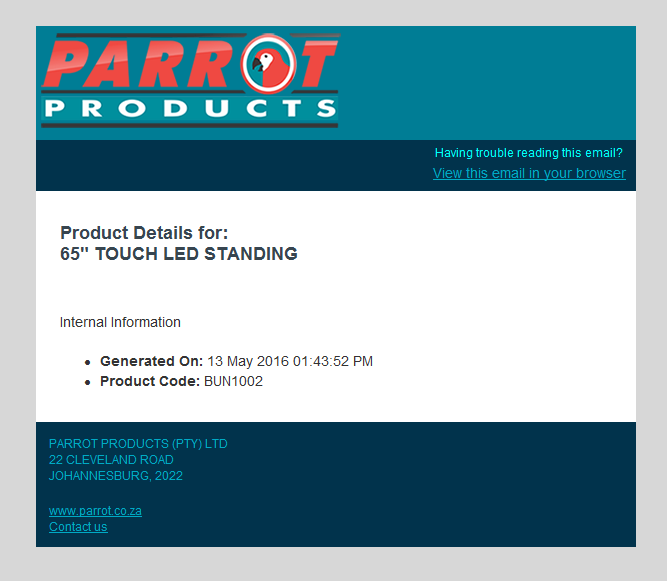
If the product does not have a picture, the form will notify you, as seen below:
2. Adding Pictures and Documents for a Product
This section will guide you through the new process for adding pictures to a product as well as making documents publicly available for download that are related to a product. Firstly, you will need to select a product from the lookup on the Stock Summary page. Once you have done that, click on the Documents Tab. (Documents and Pictures are uploaded from the same area.)
2.1 Adding a Picture
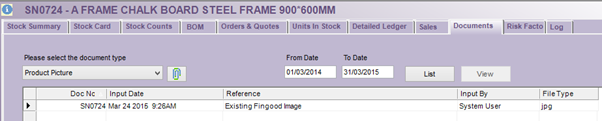
To add a picture for a Product, change the selected document type from Finished Goods Document to Product Picture. Any existing images’ details will be displayed, as shown below:
To remove a picture, right-click on the row and select Delete from the popup menu. Please note that deleting an image is irreversible unless you have a backup of it saved somewhere else.
To add a new picture, click on the paperclip and browse to the desired image, then click OK to add the new image to the product. It will then be displayed as part of the list, as shown below. If you double-click on the newly added item, it will be displayed in a larger size in a popup.

It will then be shown the next time you Select the Product on the Stock Summary tab in the Product Pictures and Information form, as seen below:

2.2 Changing the Picture Order
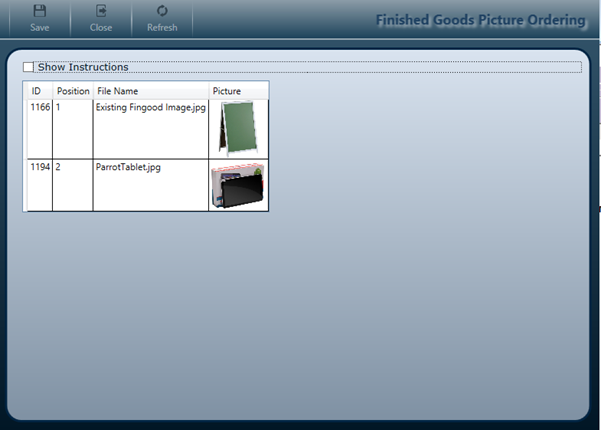
In order to change the ordering of the pictures, click on the Change Picture Order button under Product Info Options on the Stock Summary tab. You will be presented with the screen below:
The Save Button will save any changes you make to the picture ordering.
The Close Button will close the form without saving changes.
The Refresh Button will refresh the grid of pictures (any changes made will be lost if you refresh).
Click on Show Instructions to show instructions for the page.
To change the order of the Product Pictures, simply click and hold the left mouse button over the picture you wish to move and then drag it over the picture you want to swap places with. The form will then be updated as below:

2.3 Adding a Product Information Document
Documents for a product can now be made publicly available by adding them to the system. In order to this, you must return to the Documents tab after having selected a product and under the Document Types dropdown, select Product Info Document. Then, as before with the product pictures, click on the blue paperclip and select a file that you wish to be added. The form will then be updated as below:

The file can be deleted the same way as with a product picture. (Right-click on the row and select Delete from the popup menu.)
Once you have added a file, you must make sure the Show Documents checkbox under Product Info Options is checked. Then, select the Product again and in the Product Pictures and Information you will notice there is a new section titled Product Documents, shown below:
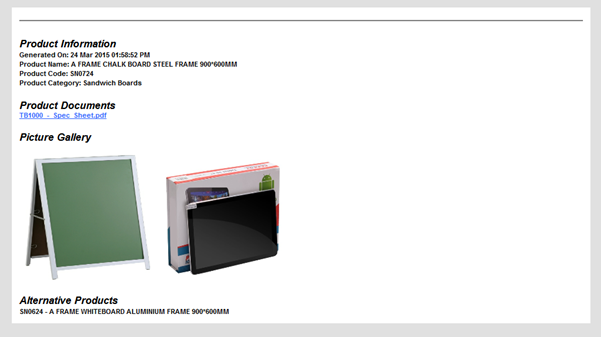
As can be seen above, the document that was added is now shown as a clickable link under Product Documents.
If you click on the link (the blue text), the file will be downloaded.
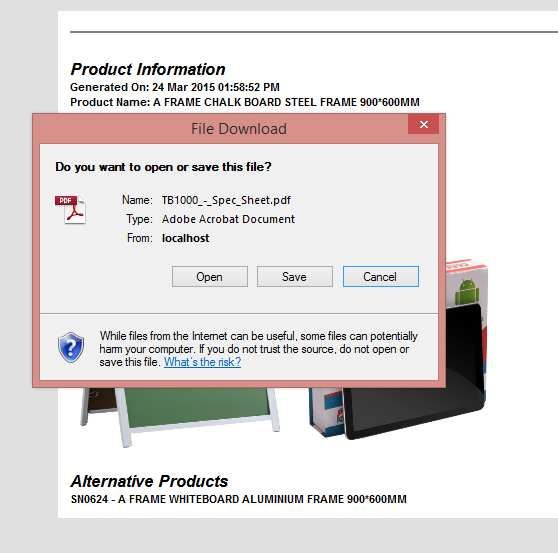
The file can then be opened or saved.
Alternatively if an error occurs, a message will be displayed similar to the one below. (The error shown below means that a file has been deleted and the screen has not been reloaded, so the file no longer exists to be downloaded when a user clicks on the link.)
